
Choosing Sandpaper Grit for Wood: Bare Wood, Veneer and Finishes
Choose sandpaper by the material and next operation before choosing a number. Bare-wood preparation commonly finishes around 120–220 grit; intercoat sanding and final film polishing are separate operations.
These are starting points, not universal specifications. Follow the coating technical data and test the complete process on matching offcuts.
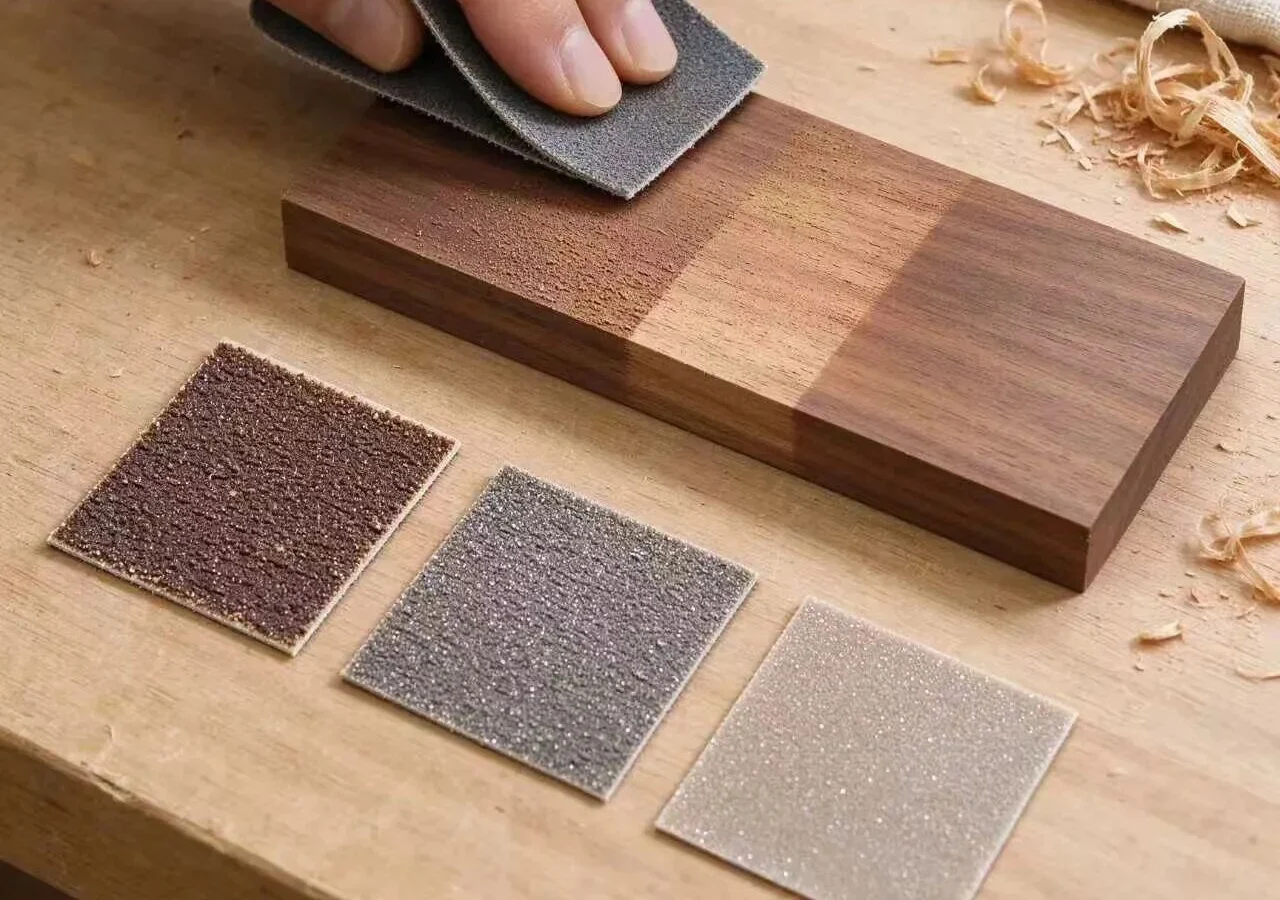
1. Read the grit designation and abrasive specification
Within one grading system, a larger number generally means finer abrasive. A P prefix identifies FEPA coated-abrasive grading. Unprefixed numbers, other standards and micron grades are not automatically equivalent, particularly at fine grades. Record the full package designation. [5]
Names such as metal paper, wood paper and waterproof paper do not fully specify suitability. Check abrasive mineral, backing, coating pattern, anti-loading treatment and permitted use. Aluminum oxide is common for wood. Waterproof paper does not require wet use and does not make bare wood suitable for wet sanding. [6]
Practical check:Use a flat block for flat work and suitable flexible backing on profiles. Paper color does not establish grit.
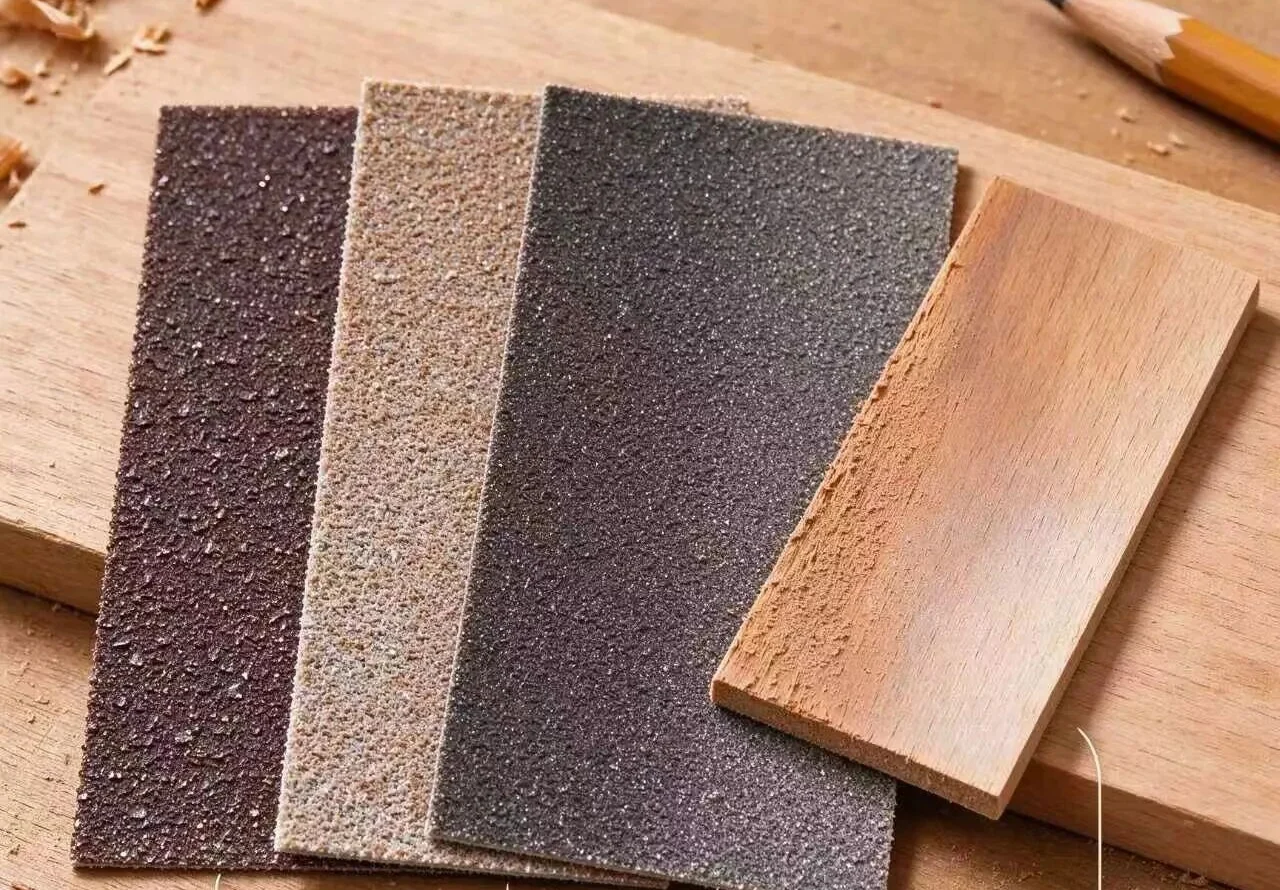
2. Bare wood and veneer: remove the previous scratches
Solid wood with machining marks may start at 80, then progress through 120, 150 and 180. Better surfaces may start at 120 or 150. Continue to 220 only where the finish calls for it. Each stage must remove the previous scratches; jumping straight from 80 to 360 is not a standard preparation sequence.[1][2]
Thin veneer is limited by remaining face thickness. A well-prepared face may need only light fine sanding, established by the supplier and a test piece. Do not prescribe 80 grit for every veneer or sand through the face to flatten substrate defects. Edges, joints and high spots are especially vulnerable.
Practical check:Test matching offcuts through finishing. Keep the block flat, pressure light and movement even. Finish hand sanding with the grain; vacuum between grits and inspect under raking light.
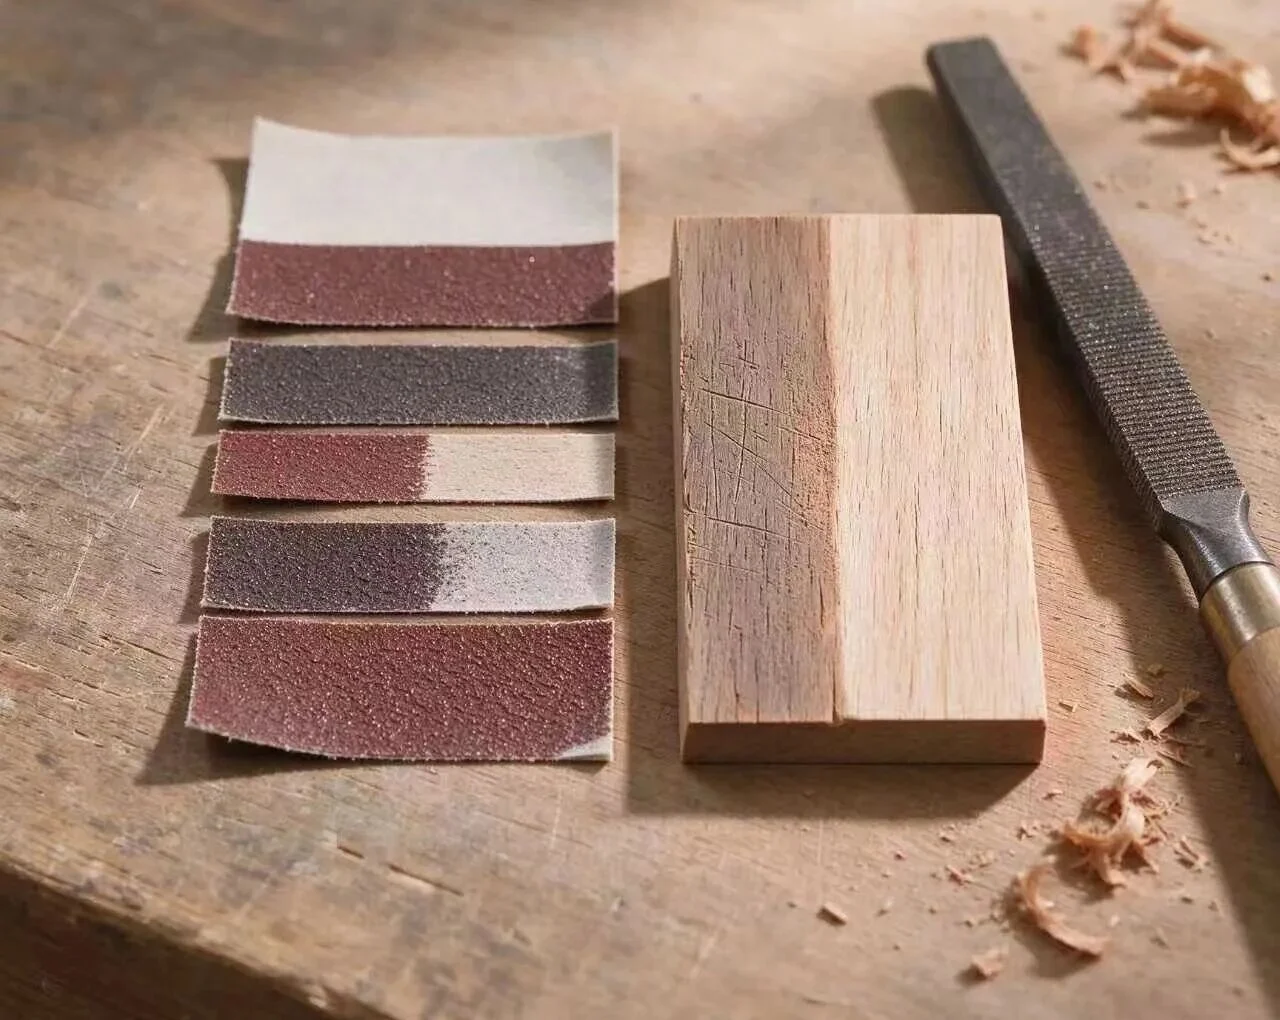
3. Set separate endpoints for preparation, recoating and polishing
Finer is not always better before coating: excessive sanding can change absorption and stain color. General Finishes specifies endpoints such as 150 or 180 for certain hardwood staining systems; Rubio Oil Plus 2C specifies 120, with a maximum of 150. These instructions belong to those products, not every oil finish.[3][4]
Sand between coats only when the coating is ready according to its instructions. Remove nibs and raised fibers and prepare the surface for recoating. Some systems specify 220–320 or finer. On suitable fully cured films, 1000–1500 and finer abrasives may form part of leveling, followed by finer abrasion and polishing. This does not automatically produce gloss or suit every coating.[3] [7]
Practical check:Polishing is not a compulsory step before the last coat. Prepare a recoat for adhesion; polish only after the final film has fully cured and the system permits it.
Wood sanding grit selection table
Typical starting points below. Confirm the grading standard on the product; this table is not an exact conversion between standards.
| Solid wood with machining marks | Try 80 → 120 → 150 → 180; proceed to 220 only if specified |
|---|---|
| Already smooth solid wood | Start at 120 or 150 and remove visible scratches |
| Final bare-wood preparation | Often 150–220; some oils require 120–150; follow the product |
| Thin veneered panels | Establish a fine-sanding process with supplier guidance and offcut tests; prevent sand-through |
| Light sanding between coats | Often 220–320 or finer as specified; avoid cutting through the colored layer |
| Final cured-film leveling and polishing | Suitable systems may use 1000–1500 and finer after full cure; follow the complete polishing schedule |
How to know when to move to the next grit
- Inspect in raking light: previous deep scratches must disappear. A smooth feel alone is insufficient.
- Replace clogged or dull abrasives rather than pressing harder.
- Remove dust between grades and before coating; use only compatible cleaners.
- Apply the intended finish to matching test pieces to check color, absorption and appearance.
- Use dust extraction, eye protection and suitable wood-dust respiratory protection. Identify unknown old coatings before choosing a removal method.
Frequently asked questions
Is all 120–240 grit coarse?
No. In ordinary bare-wood preparation, 120 often refines the surface and 180–220 often serves final preparation. Describe the operation alongside the grit.
Can waterproof paper sand wood?
It may be used dry if the abrasive permits. Bare wood is normally dry sanded. Wet sanding can raise fibers and introduce moisture, especially at veneer edges. Check cure, water resistance and edge protection before wet sanding a film.
Should wood be sanded above 800 before coating?
Usually this is unnecessary. Excessively fine sanding may alter absorption and finishing behavior. Such fine grades need a specific finishing or film-treatment purpose.
Can one grit number describe a complete process?
No. Keep the material, operation, grading standard and coating conditions together when quoting a recommendation.
Technical references and scope
- Norton Abrasives — Bare Wood Sanding
- General Finishes — Preparation sanding raw wood
- General Finishes — Preparing wood for stain
- Rubio Monocoat — Oil Plus 2C sanding grit
- Norton — Abrasive grain size and FEPA/CAMI comparison
- Norton — T100 wet and dry abrasive specification
- Canadian Woodworking — Rubbing the finish
Technical review: 2026-11-03. Supplied images illustrate sanding; they do not verify grit, species or measured results.